Install OpenCode and Use It Free: OpenCode Zen + OpenRouter (2026)

Install OpenCode, generate a free OpenCode Zen key, connect OpenRouter, and switch between free models when one hits a rate limit. No paid Claude plan and no local GPU.
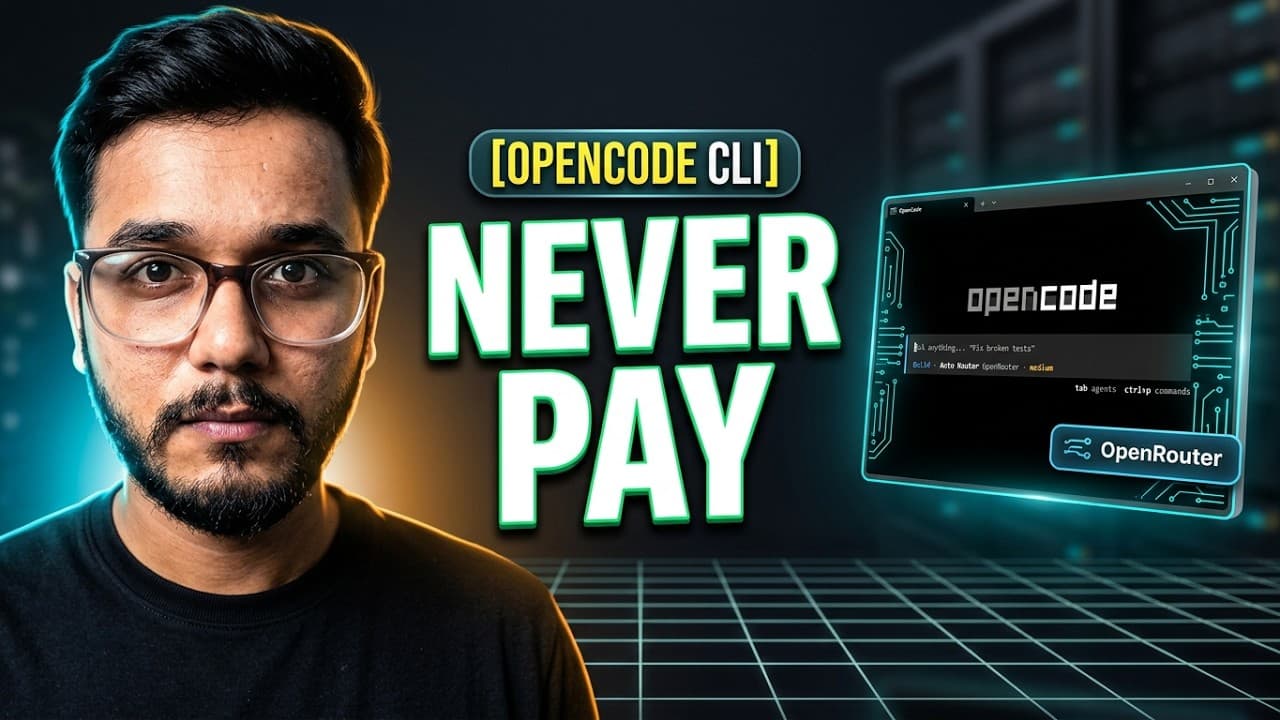
The annoying part of free AI coding is not the editor. It is the model access. You install a tool, connect a provider, and then discover that the free tier ended last week or the key only works in one region.
This setup reduces that pain. OpenCode is the agent, OpenCode Zen gives you a simple key, and OpenRouter gives you a catalog of models you can switch between. When one free model is rate limited, you move to another instead of waiting.
Step 1: Install Node.js
OpenCode is distributed as an npm package, so install Node.js 18 or newer first. Download the LTS installer from nodejs.org and confirm:
node --version
npm --version
On Windows, close and reopen the terminal after installing Node so the PATH is updated. If npm is not recognized, that is almost always a PATH problem, not an OpenCode problem.
Step 2: Install OpenCode
Install the CLI globally:
npm install -g opencode-ai
Check it:
opencode --version
Then start it inside a project:
opencode
The first run opens the provider setup. You can also trigger it later with:
opencode auth login
Step 3: Create an OpenCode Zen key
Open opencode.ai and open the console. Create an API key for OpenCode Zen and copy it once. Treat it like a password.
Back in the terminal:
- Run
opencode auth login. - Choose OpenCode Zen as the provider.
- Paste the key.
OpenCode stores the credential in its own config directory. You do not need to export an environment variable for the basic setup.
Test it with a small prompt. Ask OpenCode to explain the current folder or list the files. If it answers, the connection is working.
Step 4: Connect OpenRouter
OpenRouter is useful because one key gives you access to many models. Create an account at openrouter.ai, open the keys page, and generate a key.
Connect it the same way:
opencode auth login
Choose OpenRouter and paste the key. If you already have Zen configured, you can keep both providers and switch between them.
Step 5: Pick free models
OpenRouter publishes a free model collection at openrouter.ai/collections/free-models. Free model IDs usually end with :free, for example:
deepseek/deepseek-r1:free
Copy the exact model ID from the page. Do not guess the ID from the display name. A wrong model ID is the most common reason a provider returns an error even though the key is valid.
You can set a default model in opencode.json in your project:
{
  "$schema": "https://opencode.ai/config.json",
  "model": "openrouter/YOUR_MODEL_ID"
}
Use the exact provider and model IDs that OpenCode shows in its model list. If you are unsure, start OpenCode and use the model picker before editing the config file.
Step 6: The free token trick
The trick from the video is not a secret unlimited plan. It is provider hygiene:
- Keep at least two free models configured.
- When one returns a rate limit, switch to the other instead of retrying forever.
- Prefer smaller models for simple edits and save the stronger free models for hard debugging.
- Do not send your entire repository when one file is enough.
Free tiers change without notice. A model that is free today can become paid next month. The durable skill is being able to switch providers without reinstalling everything.
Verify the setup
Run a real task, not a hello world:
opencode
Then ask it to add a small feature to an existing file. Check three things:
- It can read the correct file.
- It proposes a diff before writing.
- The command it runs is something you understand.
If the model answers but cannot read files, the model is fine and the workspace is wrong. Start OpenCode from the project root.
Common mistakes
- Using an old OpenCode version. Update with
npm install -g opencode-ai@latestwhen a provider stops working. - Pasting a key with spaces. Copy again and paste into the login prompt, not into a random config file.
- Committing the key. Add
.envand local config files to.gitignore. - Expecting free models to be unlimited. They are not. Build a fallback into your workflow.
- Judging OpenCode after one prompt. Test it on a real task with a model you actually like.
Final thoughts
You now have two ways to run OpenCode for free: a Zen key for a simple setup and OpenRouter for model choice. Install Node, connect both providers, keep two free models ready, and you can code with an agent without a monthly subscription.
- Install Node.js before installing the OpenCode CLI.
- Generate the OpenCode Zen key in the OpenCode console, then connect it with opencode auth login.
- OpenRouter gives you one key for many models, including free ones.
- Free model IDs on OpenRouter usually end with :free and have rate limits.
- Configure a second model before you hit a limit, not after.